What Temp to Cook Pancakes
What Temp to Cook Pancakes: Ideal Griddle and Pan Temperature for Fluffy Results
As a chef, I’ve cooked pancakes by the hundreds—at brunch services, in hotel kitchens, and at home. One lesson I learned early: temperature control is everything. Pancakes may seem simple, but they demand precision. Too hot, and you’ll burn the outside while the inside stays raw. Too low, and you get pale, flat cakes without rise or color.
- Why Temperature Is Key for Perfect Pancakes
- Ingredients and Basic Equipment for Ideal Pancakes
- How Griddle and Pan Temperature Affects Texture
- Preheating and Testing the Cooking Surface
- Ideal Temperature and Time Chart
- Pan vs. Griddle: Which Is Better?
- How to Flip for Maximum Fluffiness
- Alternative Cooking Methods: Oven, Microwave, Pressure Cooker
- How Ingredients Affect Temperature Needs
- Mix-Ins and How They Impact Cooking
- Troubleshooting Uneven Browning or Gummy Centers
- How to Keep Pancakes Warm Without Drying Them
- Serving and Plating Techniques for the Best Presentation
- Toppings and Sauces That Elevate the Dish
- Pancake Variations Worth Trying
- Why This Temperature Method Works Every Time
- How to Keep Pancakes Warm Without Drying Them
- Troubleshooting Uneven Browning or Gummy Centers
- Serving and Plating Techniques for the Best Presentation
- Toppings and Sauces That Elevate the Dish
- Pancake Variations Worth Trying
- Why This Temperature Method Works Every Time
- How to Keep Pancakes Warm Without Drying Them
- Troubleshooting Uneven Browning or Gummy Centers
- FAQ: Pancake Cooking Temperatures (from a Chef’s Perspective)
Why Temperature Is Key for Perfect Pancakes
What you want is a golden crust, a soft and fluffy interior, and consistent texture from edge to center. And all of that comes from understanding how heat interacts with your batter, your pan, and your timing. In this article, I’ll walk you through how to master pancake cooking temperatures—whether you’re using a pan, griddle, or trying alternative methods.
Ingredients and Basic Equipment for Ideal Pancakes
Ingredients:
- 1½ cups all-purpose flour
- 1 tablespoon sugar
- 1 tablespoon baking powder
- ½ teaspoon salt
- 1¼ cups whole milk (room temperature)
- 1 large egg
- 3 tablespoons melted butter or neutral oil
- Optional: vanilla extract, buttermilk, spices, blueberries
Equipment:
- Non-stick or cast iron skillet, or flat griddle
- Spatula (thin and wide)
- Ladle or measuring cup for portioning
- Infrared thermometer or surface thermometer (optional)
- Cooling rack or plate with paper towel
How Griddle and Pan Temperature Affects Texture
The griddle or pan should be heated evenly before adding batter. If the surface is too hot, the batter will brown too quickly and may burn before the center is set. If too cool, the batter spreads too much and stays gummy. I aim for a surface temp of 375°F (190°C)—hot enough to cook through but slow enough to allow bubbles to form and structure to develop.
You’ll know the surface is ready when a drop of water dances and evaporates quickly without instantly turning to steam. I always preheat the pan or griddle for at least 5 minutes, then test with a sacrificial spoonful of batter.
Preheating and Testing the Cooking Surface
To get consistent results, I preheat over medium or medium-low heat. If using a griddle, I let it come up slowly. With a pan, I rotate it a few times to ensure even heat distribution. A quick flick of water on the surface is my classic test—it should sizzle lightly, not explode.
I also sometimes drop a half-teaspoon of batter onto the surface. If it starts bubbling after 20–30 seconds and lifts cleanly, the pan is ready. If it sticks or spreads too far, the surface is too cold. This one step has saved me from countless undercooked or scorched pancakes.
Ideal Temperature and Time Chart
| Surface Type | Temperature | Cook Time (Per Side) | Doneness Indicator |
| Griddle | 375°F | 2–3 minutes | Golden edges, bubbling top |
| Skillet | Medium heat | 2–3 minutes | Even browning, no burning |
| Oven finish | 300°F | 5 minutes (if needed) | Cooked through, fluffy |
I always rely on visual cues first—tiny bubbles on the surface and set edges are your green light to flip. Timing is secondary to those signals.
Pan vs. Griddle: Which Is Better?
I’ve used both extensively, and they each have their strengths. A griddle offers consistent surface temperature and space for multiple pancakes. It’s ideal for batch cooking. A pan (especially non-stick or cast iron) is more accessible at home but requires attention to hot spots and manual rotation.
If I’m cooking for more than two people, I go with a griddle. But for small batches or experimenting with flavors and mix-ins, a skillet gives me more control.
How to Flip for Maximum Fluffiness
Flipping too early or too late ruins texture. I wait for bubbles to form and pop on the surface—this indicates the bottom is set and the inside is starting to rise. I slide a thin spatula under the edge, check for golden color, then flip quickly in one motion. Never press down—it squeezes air out of the pancake and flattens it.
If the batter sticks or splatters, the pan isn’t hot enough or you didn’t wait long enough. Patience makes for perfect pancakes.
Alternative Cooking Methods: Oven, Microwave, Pressure Cooker
While stovetop is king, I’ve experimented with alternatives:
- Oven: Great for baked pancakes or finishing thicker ones. After cooking on one side in a pan, I transfer to a 300°F (150°C) oven for 5 minutes to cook through without burning the outside.
- Microwave: Only for reheating. Pancakes go limp or rubbery if fully cooked in the microwave. I reheat on 50% power with a damp paper towel over them.
- Pressure cooker: I’ve tried “pancake cakes” in ramekins—using steam cooking for tall, fluffy results. It’s fun, but not traditional. Cook time is around 10 minutes on high pressure, with natural release.
How Ingredients Affect Temperature Needs
Different batters behave differently. When I use buttermilk, the acidity reacts with baking soda or powder to create more bubbles, which means I can use slightly lower heat and still get a great rise. If the batter is thick with added mashed bananas or pumpkin, I lower the heat a bit to avoid scorching the sugar content.
Thin batters, like those for crepes or Swedish pancakes, cook faster and need higher heat to prevent sticking. So, every time I change the base recipe, I make small adjustments to temperature—5 to 10 degrees can make or break the outcome.
Mix-Ins and How They Impact Cooking
When I add blueberries, chocolate chips, or sliced bananas to my pancakes, I do so after pouring the batter onto the griddle. Dropping them into the bowl weighs the batter down and makes cooking uneven. With mix-ins, I reduce the heat just slightly—maybe 365–370°F—because the added moisture or sugar can lead to quicker browning.
Sometimes I even cover the pan for 30 seconds after flipping to ensure the interior cooks fully. This is especially helpful with fruit or nut-stuffed pancakes that are thicker than normal.
Troubleshooting Uneven Browning or Gummy Centers
If pancakes are too dark outside but raw inside, the pan is too hot. I’ve made this mistake dozens of times early in my career. I now always cook a test pancake before committing a whole batch. If it comes out gummy, I lower the heat and let the pan sit off-burner for a minute to stabilize.
Uneven browning usually means your pan isn’t heated evenly. On gas stoves, I rotate the pan every minute. On electric griddles, I avoid the edges where heat is weaker. And if the batter spreads too much or turns grey, it’s probably too thin or the pan is cold.
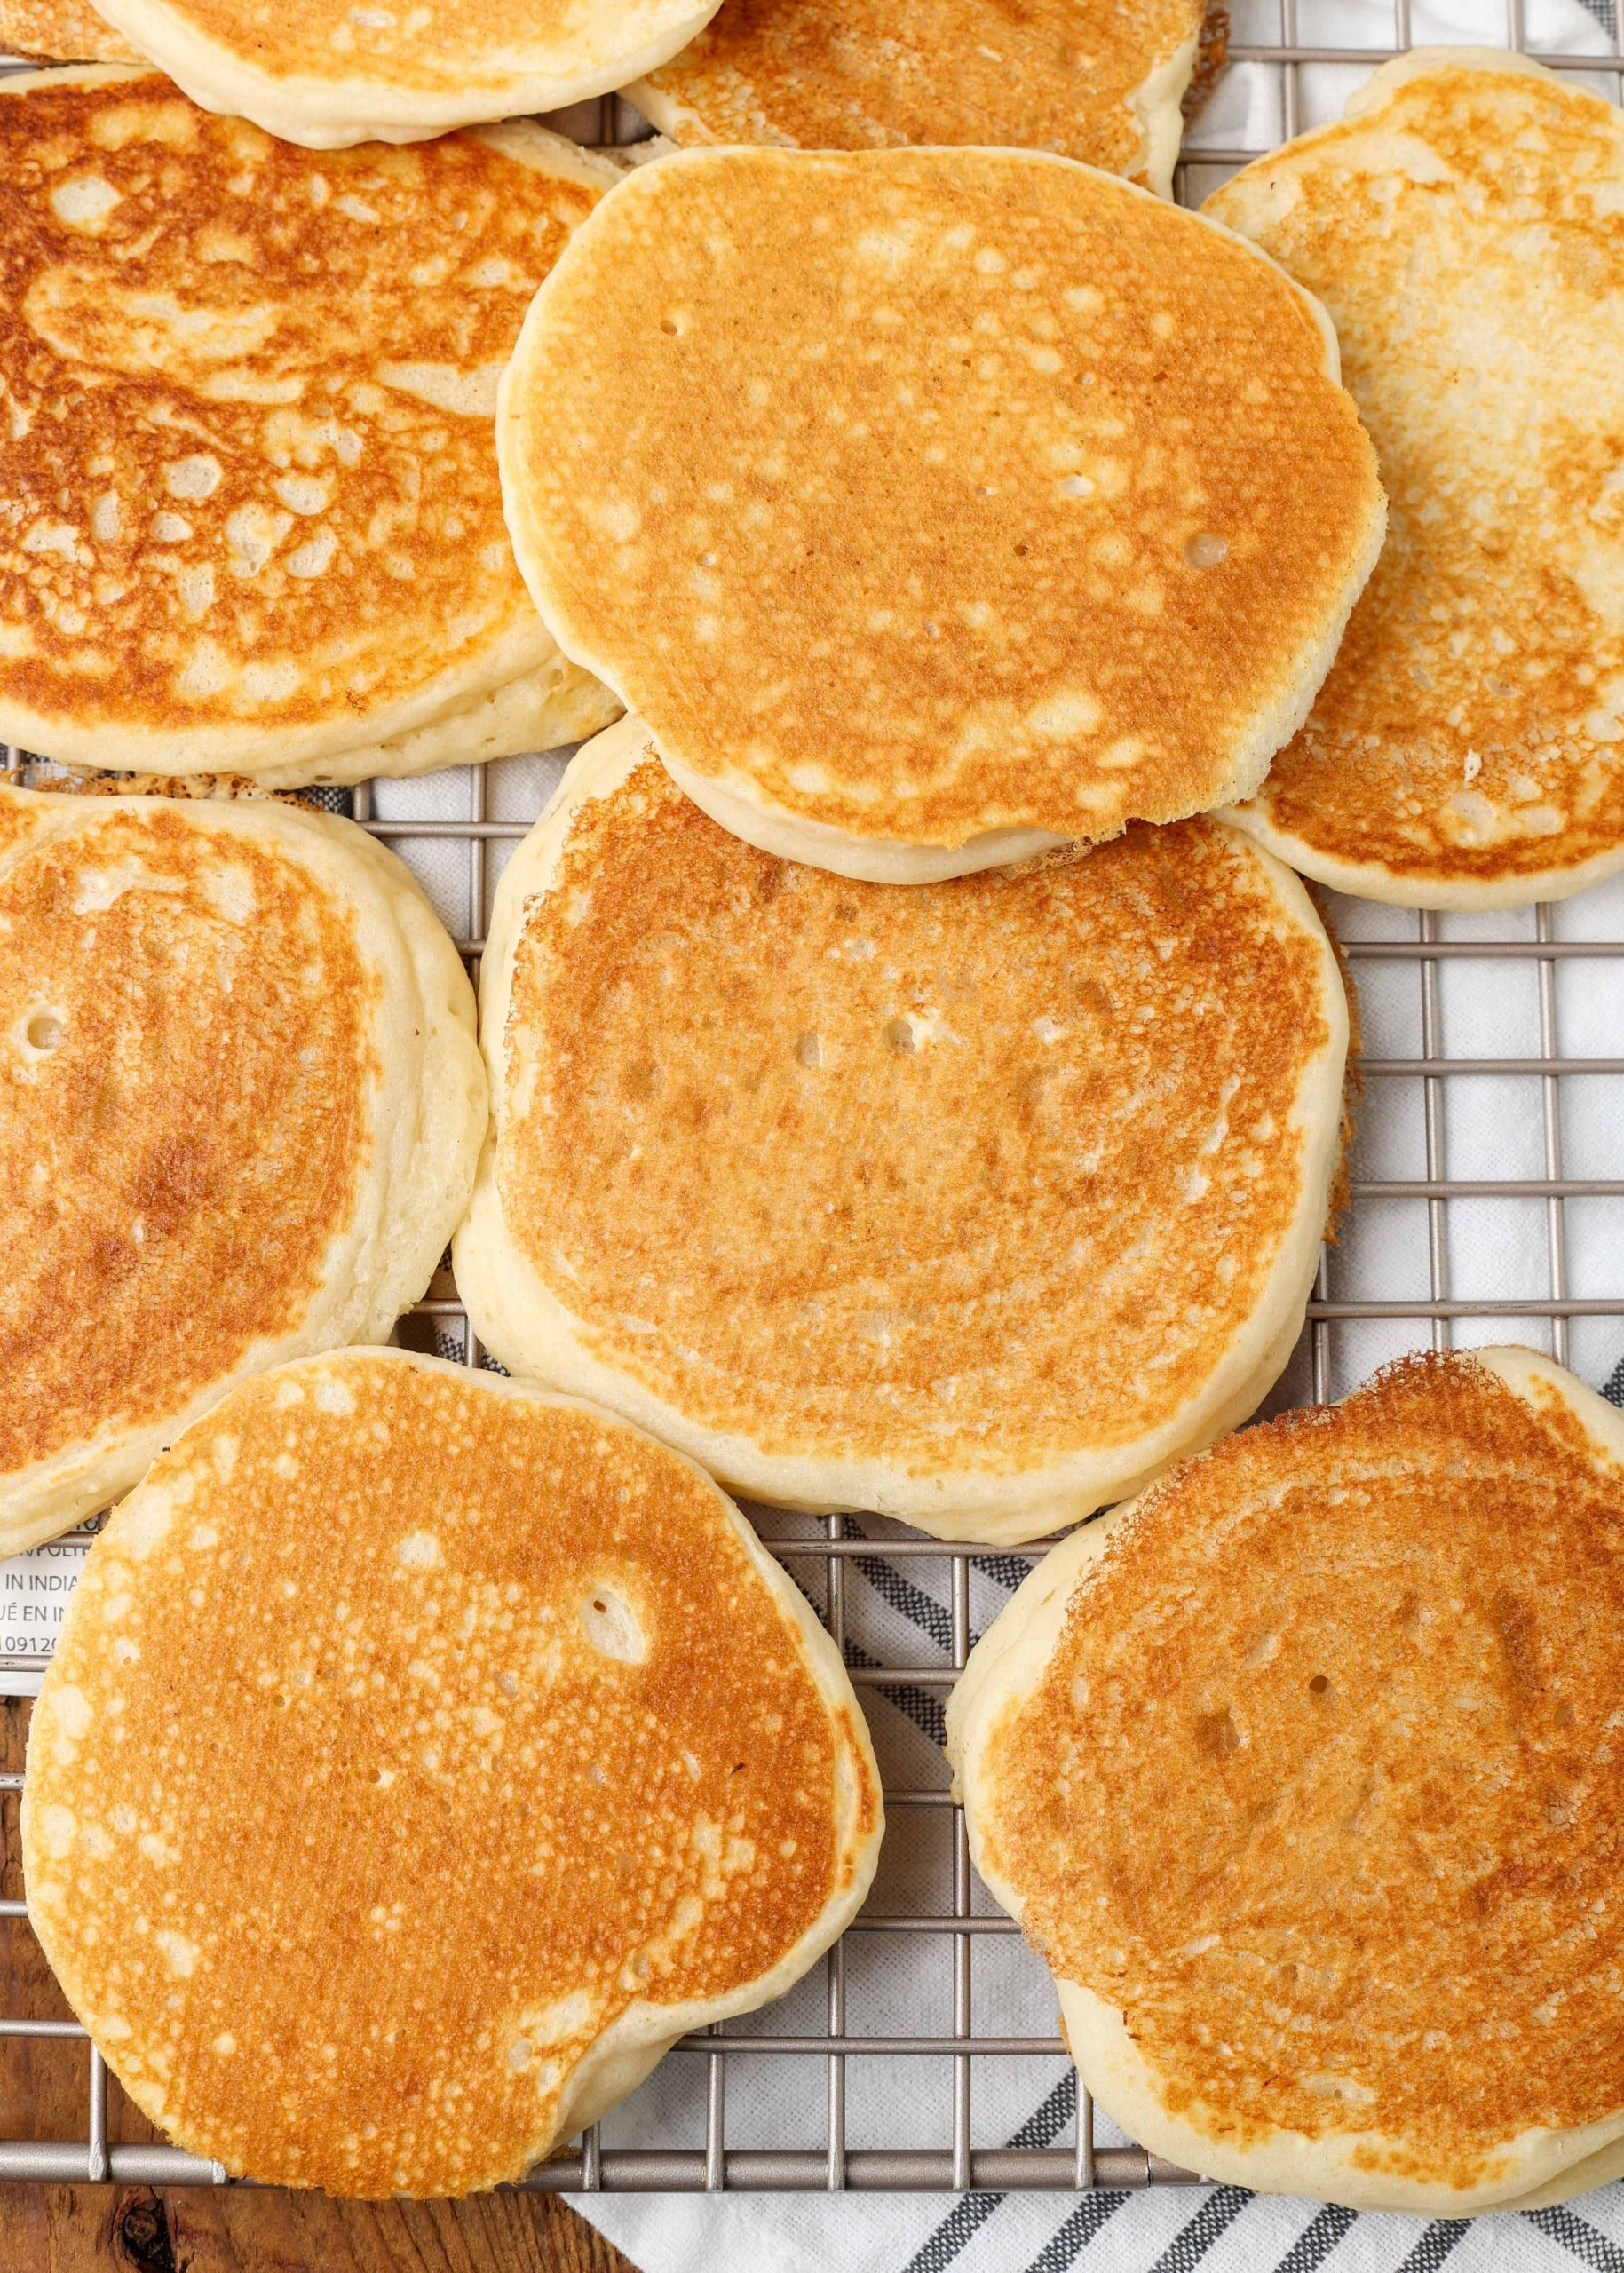
How to Keep Pancakes Warm Without Drying Them
Once I’ve cooked a batch, I place finished pancakes on a cooling rack set over a baking sheet in a 200°F (95°C) oven. The rack allows airflow and prevents the bottoms from steaming and turning soggy. I never stack pancakes until serving—they stick together and lose texture.
If I need to hold them longer, I cover loosely with foil, but never tightly—too much moisture ruins the crisp edges. I’ve used this method in brunch services to hold pancakes for up to 45 minutes with no quality loss.
Serving and Plating Techniques for the Best Presentation
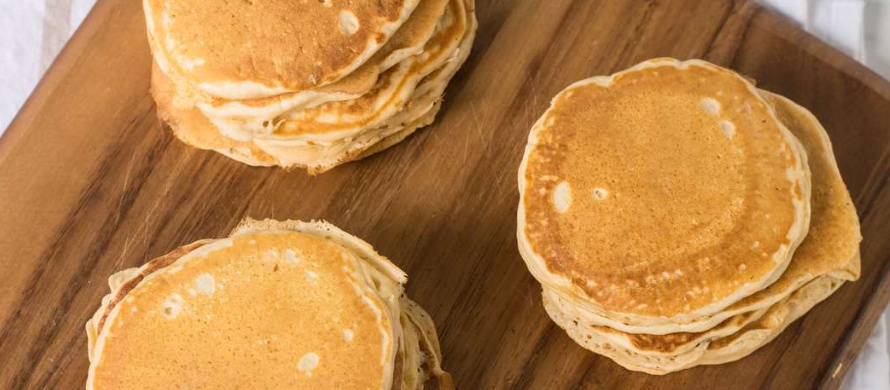
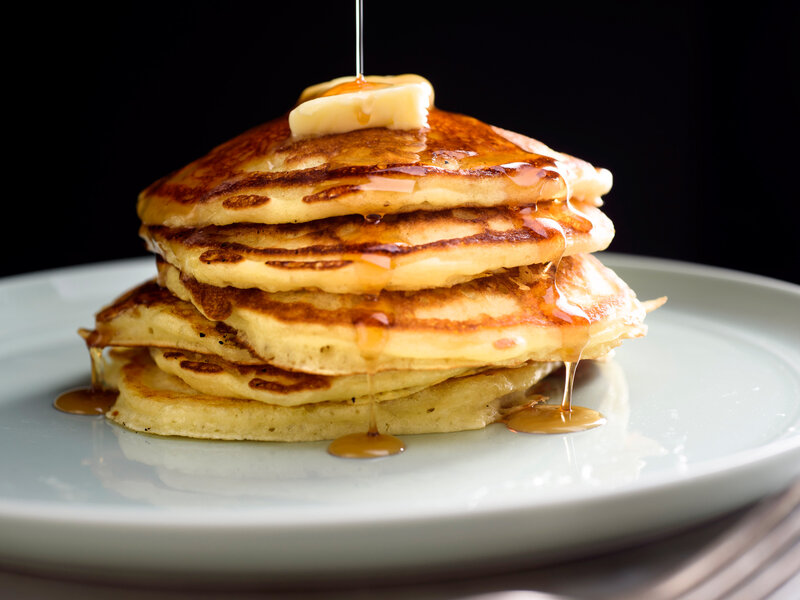
After years of working brunch shifts, I’ve learned that pancakes taste even better when they’re plated thoughtfully. A neat stack, usually three pancakes high, adds visual height and symmetry to the plate. I don’t just toss them on top of each other—I stagger them slightly, creating a natural slope for toppings to flow.
I always add a pat of butter on the top pancake while it’s still hot. It melts slowly and gives that glossy, inviting look. Instead of drowning the stack in syrup right away, I serve it on the side or drizzle it lightly around the edges to preserve the crisp exterior of the top and bottom layers. A sprinkle of powdered sugar, a few fresh berries, or even citrus zest elevates the look instantly.
For more elegant plates, especially when serving guests, I might place the stack on a warm white plate with a quenelle of whipped cream and a swipe of berry coulis along the rim. The key is contrast—warm cake, cold topping, soft interior, crisp edges.
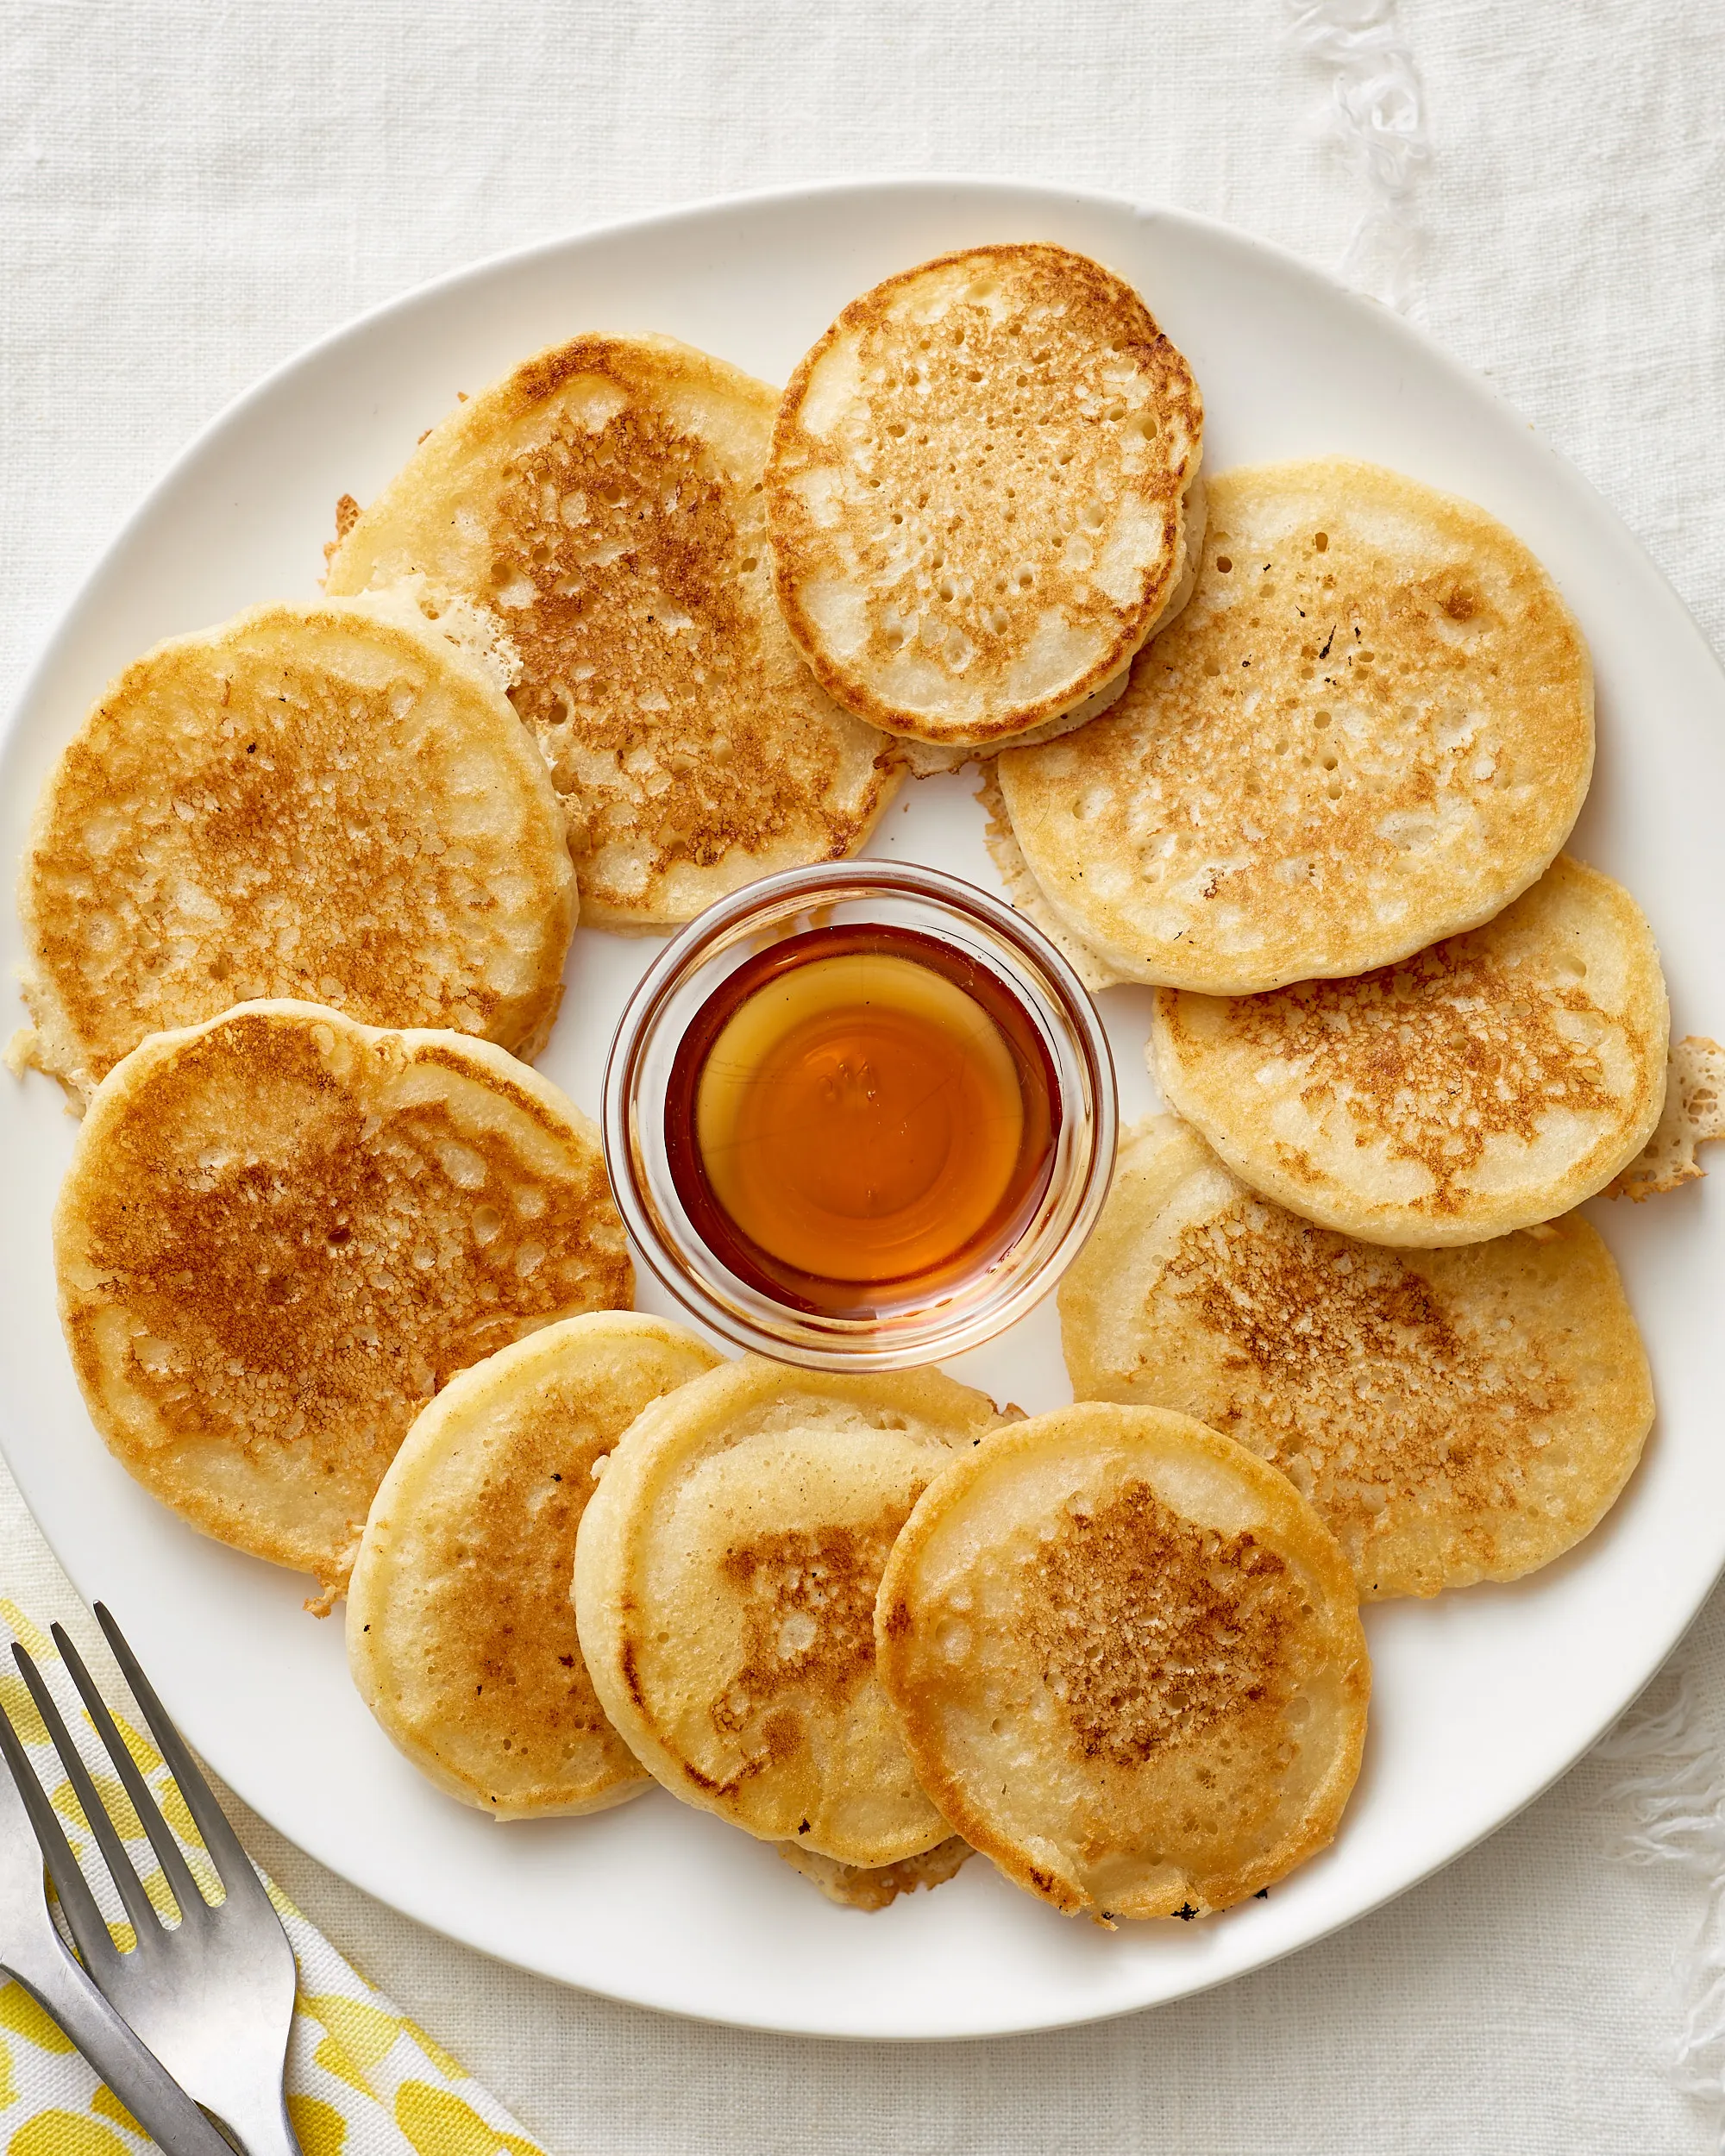
Toppings and Sauces That Elevate the Dish
While maple syrup will always have its place, I’ve built entire menus around creative pancake toppings. One of my favorites is a fresh fruit compote—blueberries, strawberries, or peaches simmered with a bit of sugar and lemon juice until they break down into a thick, glossy sauce. It brings brightness and moisture that complements fluffy pancakes.
Whipped compound butters are another trick I use. I make cinnamon honey butter, vanilla bean butter, or even citrus-infused butter with orange zest. They melt beautifully over the top and blend into every bite.
Sometimes I want richness—so I drizzle chocolate ganache or salted caramel. Other times I go tangy: lemon curd, yogurt, or crème fraîche balances sweet batter beautifully. I’ve even gone savory with things like herbed ricotta or soft poached eggs atop cornmeal pancakes. It’s all about matching textures and flavors to make the dish feel complete.
Pancake Variations Worth Trying
The beauty of pancakes is that they’re endlessly adaptable. I’ve made them with everything from almond flour to mashed bananas, and each change brings a new challenge to temperature control and timing.
Buttermilk pancakes rise higher and need a touch lower heat to avoid overbrowning due to the sugar content. Ricotta pancakes, which I love for their tenderness, benefit from longer cooking at medium-low heat to cook the centers without burning. When I make matcha or cocoa batter, I turn the heat down slightly too—these additions absorb heat differently and brown faster.
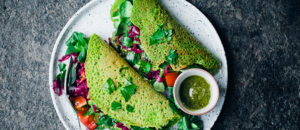
Then there are the cultural variations: Swedish pancakes (very thin), Korean hotteok (filled), or Japanese soufflé pancakes (incredibly thick and airy). Each has its own optimal temperature and flip time. The key lesson I’ve learned is this—every new variation demands attention, testing, and patience.
Why This Temperature Method Works Every Time
Consistency is everything in cooking. And with pancakes, that starts and ends with temperature control. I’ve made pancakes on gas, induction, electric, cast iron, non-stick, and griddles, and while the tools change, the principles stay the same: steady medium heat, preheat for 5–10 minutes, monitor visually, and test often.
What works is treating every batch as a conversation between the batter and the heat source. I watch how the batter spreads. I note when bubbles appear and how quickly they pop. I judge by smell as much as by sight. And I never rely on clock time alone.
By grounding the cooking process at around 375°F (190°C) for a flat griddle, and adjusting slightly depending on batter and thickness, I ensure that each pancake cooks evenly, rises fully, and turns golden brown without burning. This method isn’t just habit—it’s built on repetition, correction, and results.
How to Keep Pancakes Warm Without Drying Them
Holding pancakes for even 15 minutes can be tricky—especially if you want them to taste just as fresh as the first one off the pan. In my kitchen, I always place cooked pancakes on a wire rack set over a baking sheet and keep them in a 200°F (95°C) oven. The wire rack keeps the bottoms from steaming and going soggy, which is a common issue when pancakes are stacked directly on a plate.
I don’t stack pancakes until I serve them. When they’re hot, stacking causes steam to rise between layers, softening the edges. For longer holds—30 to 45 minutes—I tent the tray with foil loosely. Tight foil traps too much moisture, and you’ll lose that golden crispness around the edges that makes a pancake memorable.
Troubleshooting Uneven Browning or Gummy Centers
This is where most home cooks get frustrated. Uneven browning can result from an unevenly heated pan. I always let my skillet preheat for at least 5 minutes and rotate it halfway through cooking if I notice hot spots. If your stove has uneven burners (and most do), moving the pan slightly or adjusting flame size helps.
Gummy centers are usually a sign of two issues: either the pan is too hot and the outside cooks before the inside sets, or the batter is too thick. In both cases, I lower the heat and try a test pancake again. I also make sure not to overmix the batter—lumps are fine. Overmixed batter becomes dense and sluggish, preventing it from cooking through evenly.
If pancakes are too pale, the surface is underheated. If they’re dark before the bubbles appear, the pan is too hot. I always keep a paper towel nearby and wipe the pan between batches if residual butter starts to burn—burned butter leads to spotty pancakes no matter how perfect the batter is.
Serving and Plating Techniques for the Best Presentation
When I serve pancakes, I think of the plate the same way I would a canvas. A good pancake deserves to be more than a pile of food—it should look inviting. I stack them while still warm, usually three at a time, and rotate each layer just a bit to create a spiral or natural offset. This adds dimension and prevents a flat presentation.
I place a pat of soft butter right on top so it begins to melt slowly over the stack. Instead of pouring syrup straight onto the top (which can sog out the crust), I drizzle it around the edges and let it run down naturally. It gives that glossy finish without sacrificing texture.
When plating for guests or events, I often dust powdered sugar through a fine sieve—it adds lightness and a sense of finesse. Fresh berries, mint, or edible flowers make the plate pop with color. Sometimes I’ll spoon compote in an arc around the base or create a syrup “swoosh” with the back of a spoon. Pancakes may be casual, but they don’t have to look it.
Toppings and Sauces That Elevate the Dish
A pancake is like a sponge—it absorbs everything you put on it. So when I think toppings, I aim for balance. Syrup is a classic, but I always have a few other options ready to give my pancakes character. One of my favorites is berry compote. I cook blueberries or strawberries with a little lemon juice and just enough sugar to let the natural flavors shine. After simmering, I cool it slightly and spoon it over the pancakes warm.
I also love to use whipped butters—cinnamon maple, honey walnut, or citrus zest. These melt into the pancakes slowly and flavor every bite. For an extra treat, I’ve made mascarpone cream flavored with vanilla or orange blossom, which works beautifully on ricotta or lemon pancakes.
When I want richness, I go with sauces like chocolate ganache or caramel. And when I want contrast, I use tart elements: crème fraîche, lemon curd, or even a spoonful of plain Greek yogurt. A good pancake topping isn’t just sweet—it balances the batter’s softness with creaminess, tang, crunch, or acidity.
Pancake Variations Worth Trying
Over the years, I’ve tested dozens of pancake variations. Some came from necessity, some from creativity, and others from customers asking, “Can you make this gluten-free, dairy-free, or with protein powder?” Each version changes how the batter behaves on heat.
For instance, buttermilk pancakes are classic—they rise higher and have more tang, but the batter tends to brown faster, so I lower the griddle by about 5°F. Ricotta pancakes are delicate, and I cook them slower over medium-low heat to avoid scorching. When using mashed banana or pumpkin, I reduce sugar and increase cooking time—natural sugars can burn fast.
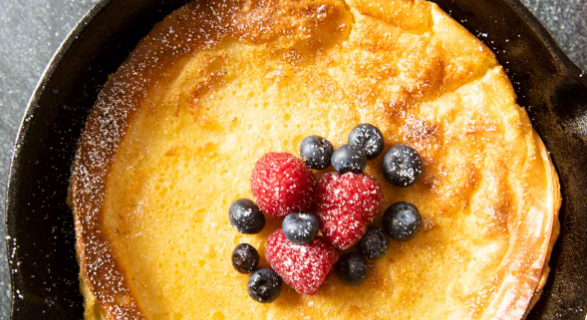
Savory pancakes, like cornmeal-jalapeño or scallion pancakes, require a firmer batter and a slightly hotter pan for a crisp edge. I’ve also made Japanese-style soufflé pancakes, which require rings, very low heat, and a covered pan to rise tall without burning.
Each variation is a new equation: thicker = lower heat, thinner = higher heat. There’s no one-size-fits-all, and that’s what makes pancakes endlessly fun to explore.
Why This Temperature Method Works Every Time
I didn’t always have a thermometer in hand. I learned from trial, error, and more burned pancakes than I care to admit. But once I started testing surfaces with an infrared thermometer, I realized that 375°F (190°C) is the sweet spot—hot enough to brown quickly, but slow enough to cook through.
This method works because it’s not rigid. It’s a framework. I always start with a preheated pan or griddle and adjust based on how the first pancake behaves. If it’s too dark, I pull the pan off the heat for 30 seconds. If it’s too pale, I give it another minute. I listen for sizzle, look for bubbles, and touch the edge with my spatula to feel resistance.
Once you understand the physics—batter density, sugar content, heat transfer—you don’t need to guess. You can adapt. And when you do, pancakes stop being a gamble and become a repeatable success.
How to Keep Pancakes Warm Without Drying Them
Keeping pancakes warm is something I’ve had to do for both home brunches and full-scale buffet lines. The secret is air circulation. I never stack pancakes directly after cooking—they steam each other and get rubbery. Instead, I place them on a wire rack set inside a baking sheet and hold them in a 200°F (95°C) oven. This lets air move underneath and keeps both sides dry and warm.
If I’m holding them longer than 20–30 minutes, I lightly tent the tray with foil—but never seal it tightly. A tight cover traps steam and undoes everything you just achieved. If I notice the edges drying, I brush a little melted butter across the surface to restore sheen and moisture.
I’ve also kept pancakes warm in a slow cooker on the “keep warm” setting, separated with parchment paper. It works, but be warned: the bottom layer will always soften a little. For perfect texture, the oven method is king.
Troubleshooting Uneven Browning or Gummy Centers
When pancakes turn out uneven, there’s always a reason—and I’ve seen them all. Uneven browning usually means your pan isn’t fully preheated. I test with water droplets: if they dance and evaporate, the surface is ready. If they sit still or sizzle violently, the temperature’s off.
If one side is darker, your burner or griddle has hot spots. I rotate the pan every couple of minutes or adjust the pan’s position slightly to balance things out. In commercial kitchens, we often mark the “sweet spot” on the griddle with a dab of oil so we know where to place batter.
Gummy centers almost always come from flipping too soon or overloading the pan. I wait for bubbles to form and pop on the surface and the edges to look dry before flipping. If you rush, the center won’t have set and will stay raw. Also, resist the urge to press pancakes down after flipping—it forces air out and ruins fluffiness.
When in doubt, make a test pancake, adjust, and proceed. It’s better to waste one than a whole batch.
FAQ: Pancake Cooking Temperatures (from a Chef’s Perspective)
What temperature should the griddle be for pancakes?
From years of testing and restaurant service, I recommend 375°F (190°C) as the gold standard for pancake griddles. At this temperature, pancakes brown evenly, rise properly, and cook through without burning. I’ve tried higher temps, but they tend to brown the exterior too fast while leaving the inside undercooked. Lower temps work but often result in pale, rubbery pancakes.
Can I cook pancakes on medium heat without a thermometer?
Absolutely. For years, I went by feel. Set your burner to medium and let your skillet heat for a full 5 to 10 minutes. Flick a few drops of water onto the surface—if they dance and evaporate quickly, the pan is ready. I always recommend a test pancake: if it takes more than 30 seconds to start bubbling, increase the heat slightly.
Why are my pancakes always raw in the middle?
In my experience, this means one of two things: the heat is too high, or the batter is too thick. Try lowering the heat slightly and letting the first side cook longer before flipping. Also, be sure your baking powder or soda isn’t expired—that helps structure the inside. I’ve learned that patience and proper heat are what separate raw centers from fluffy results.
What’s the best pan for home pancakes?
I recommend a heavy non-stick skillet or cast iron pan. Cast iron holds heat beautifully but takes longer to preheat. Non-stick is easier to manage for beginners. I’ve used everything from flat-top griddles to carbon steel, and the key is even heat and a flat surface. Make sure the pan isn’t warped or domed in the center.
Should I grease the pan or keep it dry?
I always use a small amount of butter or neutral oil, wiped with a paper towel so it coats evenly. Too much fat causes uneven browning and crispy edges. I re-grease only as needed. Burnt butter or pooling oil will ruin the next pancake, so I wipe the pan clean if needed between batches.
Why do my pancakes turn out flat and pale?
This usually means the heat is too low, or your leavening agent is inactive. I’ve seen this happen when using old baking powder or when mixing the batter too far in advance. Try making the batter fresh, mixing gently (don’t over-stir), and increasing the surface heat slightly. You should see bubbles on top within 30–45 seconds if the pan is ready.
Can I cook pancakes in the oven?
Yes, but it’s more of a bake than a fry. I’ve made baked sheet-pan pancakes at 350°F (175°C) for 12–15 minutes. It’s great for large batches. I’ve also used the oven to finish thicker pancakes: I pan-cook one side, flip, and then slide the skillet into a 300°F (150°C) oven for 5 minutes to set the center gently.
What’s the best way to keep pancakes warm while cooking the rest?
I place finished pancakes on a wire rack set over a baking sheet in a 200°F (95°C) oven. This keeps them warm without steaming the bottoms. Never stack them while they’re hot—it turns them soggy. I learned this trick from brunch service—it works every time.
Why do my pancakes burn before they cook through?
The pan is too hot. I’ve done this plenty of times when rushing. Pancakes need medium, stable heat. If the bottom is too dark before bubbles form on top, turn down the burner and let the pan cool slightly. You want slow, even cooking—not flash frying.
How long should pancakes cook on each side?
Typically 2 to 3 minutes per side, but I never go by time alone. I look for bubbles on the surface and slightly dry edges before flipping. Once flipped, the second side cooks faster. If the pancake resists flipping or breaks apart, it’s not ready yet.
Should pancake batter rest before cooking?
Yes, I always let my batter rest for 5 to 10 minutes. This allows the flour to hydrate and gives the leavening agents time to activate slightly. It results in fluffier pancakes. If you rest it too long, though, you may lose rise—especially if the batter contains baking soda and acid (like buttermilk).
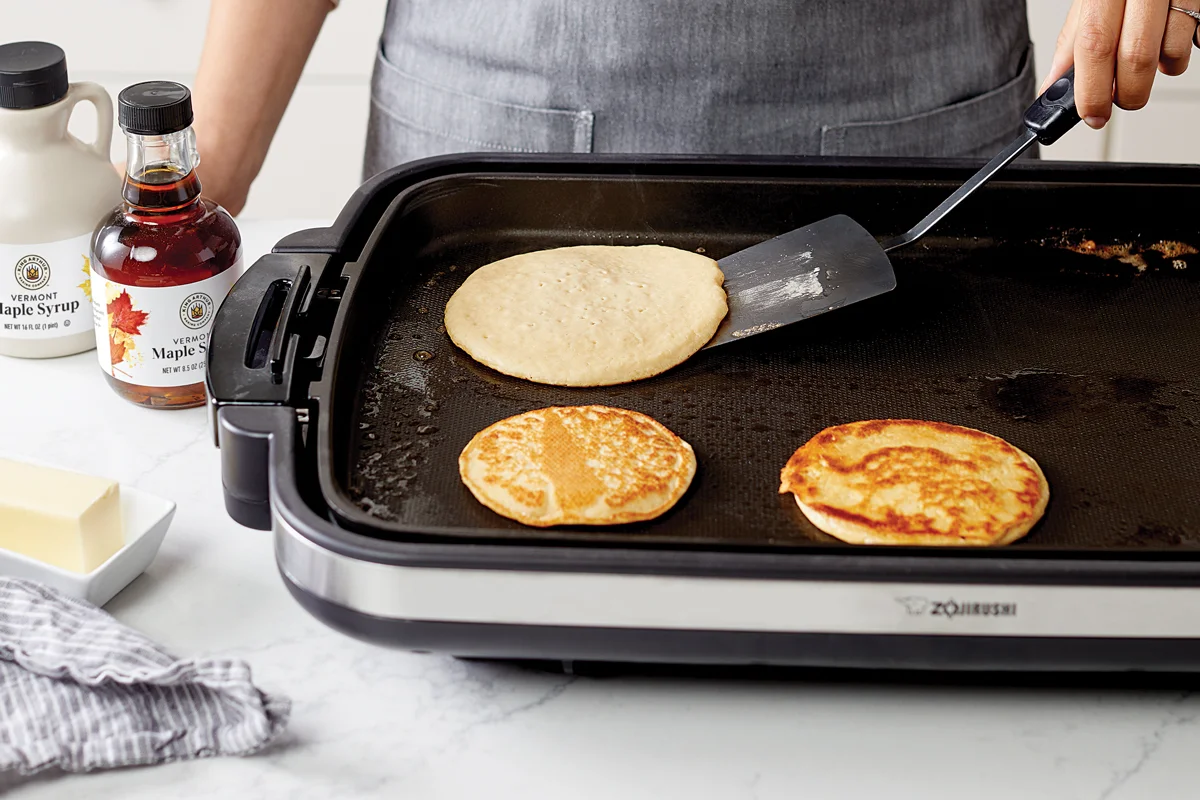
Can I use an electric griddle for pancakes?
Definitely—and I love them for consistency. Set the temperature to 375°F, preheat for at least 10 minutes, and you’ll get perfect results. Electric griddles are ideal for making multiple pancakes at once without heat fluctuations. Just don’t overcrowd—leave space between each pancake so the heat stays even.
What’s the trick to getting perfect browning?
Even heat, minimal fat, and properly mixed batter. I make sure my pan is evenly hot before starting, wipe off excess butter or oil, and wait until the surface shows bubbles before flipping. Too much sugar in the batter also burns faster—so if I’m making sweet pancakes, I lower the heat just a touch.
Can I make pancakes in advance and reheat them?
Yes, and I often do for events. To reheat, I warm them on a baking sheet in a 300°F (150°C) oven for 5–7 minutes, or toast them in a dry pan for crispier edges. Microwaving works in a pinch but can make them rubbery unless done on 50% power with a damp paper towel.
What’s your best advice for beginners?
Don’t rush, and watch more than you measure. Use a test pancake to dial in the heat. Look for visual cues—bubbles, dry edges, golden undersides. Mix gently, let the batter rest, and preheat your pan. I’ve taught hundreds of people to make pancakes, and the best ones come from people who cook with attention—not anxiety.


Post Comment