Can you Cook Pancakes in Microwave

Can You Cook Pancakes in the Microwave? Quick Recipe and Texture Tips

If you’d asked me years ago whether pancakes belonged in a microwave, I would’ve said absolutely not. I believed that without a hot skillet and golden sear, pancakes wouldn’t be worth the trouble. But experience—and necessity—have taught me otherwise. Microwave pancakes, when made correctly, can be soft, satisfying, and surprisingly versatile. And for those with limited time, space, or equipment, they’re an incredibly practical solution.
- Introduction: Why Microwave Pancakes Deserve a Closer Look
- How Pancake Batter Behaves Under Microwave Heat
- Benefits and Limitations of Microwaving Pancakes
- Choosing the Right Container for Microwave Pancakes
- Essential Ingredients for Microwave Pancake Success
- Step-by-Step Microwave Pancake Recipe with Timing Guide
- Microwave Cooking Time and Power Settings (Temperature Table)
- How to Prevent Dry or Gummy Texture in the Microwave
- How to Enhance Flavor and Aroma Without Browning
- Adapting Microwave Pancakes to Other Methods: Skillet, Oven, Pressure Cooker
- Common Mistakes When Cooking Pancakes in the Microwave
- Flavoring Options That Work Best in the Microwave
- Toppings and Sauces That Improve Microwave Texture
- Variations: Vegan, Gluten-Free, Mug Pancakes, and Savory Twists
- Storing and Reheating Microwave Pancakes Properly
- Time-Saving Tips and My Favorite Microwave Pancake Routines
- FAQ: 15 Common Questions About Microwave Pancakes — Answered by a Chef
Introduction: Why Microwave Pancakes Deserve a Closer Look
The first time I tried this method, I was in a hotel room with only a microwave and a travel mug. I mixed up a quick batter, microwaved it, and braced myself for disappointment. But the result was a tender, cake-like pancake that was warm, filling, and genuinely enjoyable. Since then, I’ve refined the technique, tested dozens of variations, and now I teach this method regularly—especially for students, travelers, or anyone cooking in a tight space.
In this article, I’ll guide you through every step of cooking pancakes in the microwave. I’ll explain what works, what doesn’t, how to choose the right container, and how to build in flavor and texture without browning. I’ll also compare this method to traditional cooking, outline common mistakes, and share my personal tips to get the most out of your microwave. Pancakes, it turns out, are more adaptable than we ever gave them credit for.
How Pancake Batter Behaves Under Microwave Heat
Understanding how a microwave heats food is key to mastering microwave pancakes. Unlike a stovetop, which applies heat from below through direct contact, a microwave cooks food by exciting water molecules with electromagnetic waves. That means heating happens from the inside out, and very quickly. While this makes for fast cooking, it also creates some unique challenges—especially for pancake batter.
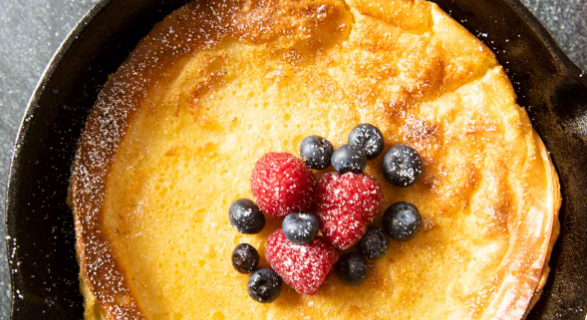
The main thing I’ve learned is that batter behaves more like a cake than a traditional pancake in the microwave. It rises through steam expansion, not from contact with a hot surface. There’s no crust, no caramelization, and no flipping. Instead, the texture you get is soft and spongy, almost like a moist muffin. If you expect skillet-style browning or crispy edges, you’ll be disappointed—but if you adjust your expectations, the results can still be excellent.
Another important factor is container shape. Because microwaves heat unevenly, the batter tends to rise more in the center if the dish is too deep. That’s why I recommend using a shallow, wide bowl or mug with a smooth surface. I’ve found that the batter rises better and cooks more evenly this way. Overfilling is another trap—too much batter, and the center stays gummy while the top explodes over the edge.
Microwave cooking also means you need to consider steam retention. I sometimes cover the dish loosely with a plate or lid to trap moisture and improve tenderness. But I avoid airtight seals, which can cause buildup and uneven cooking. Once you learn how your batter behaves under this kind of heat, you can start making real adjustments—and real improvements.
Benefits and Limitations of Microwaving Pancakes
Over the years, I’ve come to appreciate the microwave method for what it is—not a replacement for skillet pancakes, but an entirely different experience. And for some cooks and kitchens, it’s the best possible approach. The biggest advantage, of course, is speed. From start to finish, I can have a hot pancake ready in under five minutes. That’s invaluable during rushed mornings or when you just want something warm and comforting fast.
Another benefit is cleanup. With just one bowl or mug, there’s no splatter, no flipping, and no greasy pans to wash. I often recommend this method to beginner cooks because it eliminates the timing pressure of traditional pancakes. The microwave version is also more forgiving of imperfect mixing or ingredient swaps. It’s ideal for small batches or single servings.
That said, the method has its limitations. You won’t get crispy edges or deep browning. Flavor development is milder, since there’s no Maillard reaction happening. Texture can turn rubbery if overcooked, and undercooked centers are a real risk if the container is too deep or the power too high.
But I’ve found that once you embrace the simplicity and focus on moisture, flavor, and balance, microwave pancakes hold their own. They’re especially useful for people with dietary restrictions, kids learning to cook, or anyone who just needs a warm, reliable breakfast in a hurry. My goal in this guide is to help you get the best results from this method—and maybe even enjoy the process along the way.
Choosing the Right Container for Microwave Pancakes
The container you use is as important as the batter itself. I’ve tested everything—from narrow mugs to glass bowls, silicone ramekins, and even paper cups. What I’ve learned is that shape, size, and material all affect how evenly your pancake cooks in the microwave.
My top recommendation is a shallow, wide bowl that holds about 1½ to 2 cups of volume. This shape allows the batter to spread out, which reduces cooking time and minimizes the risk of an undercooked center. When the dish is too narrow or deep, the bottom may overcook while the top stays wet, or the batter rises too much and spills over.
I avoid anything with sharp corners or ridges, which tend to create hotspots and uneven rising. Ceramic and glass work better than plastic, in my experience. They heat more evenly and retain warmth after cooking, which improves texture as the pancake rests.
Greasing the container is non-negotiable. Even if the surface claims to be nonstick, microwave pancakes can cling aggressively, especially if the batter is low in fat. I brush the inside lightly with oil or melted butter before adding the batter—this not only prevents sticking, but also adds flavor and improves mouthfeel.
Finally, I always leave headroom in the container. I fill it only halfway to two-thirds full. Microwave pancakes rise rapidly, and without space to expand, they can boil over and create a mess. Once you find the right bowl in your kitchen, you’ll stick with it—it becomes part of the recipe, as much as the ingredients.
Essential Ingredients for Microwave Pancake Success
Microwave pancakes require a slight adjustment in ingredients to balance the absence of browning and the speed of cooking. I use a basic batter with a few tweaks that enhance flavor, moisture, and rise. Here’s what I’ve settled on after dozens of trials:
- 1/2 cup all-purpose flour
- 1 tablespoon sugar
- 1/4 teaspoon baking powder
- A pinch of salt
- 1/2 cup milk (dairy or plant-based)
- 1 tablespoon melted butter or oil
- 1/2 of a small egg (or 1 tablespoon applesauce or mashed banana for egg-free)
- 1/4 teaspoon vanilla extract (optional)
The smaller portion ensures quick, even cooking and avoids over-expansion. I sometimes add a little extra sugar when not using syrup or toppings—it helps bring out flavor in the absence of browning.
The fat (butter or oil) keeps the interior soft and prevents the edges from drying out. Without it, the microwave will pull moisture from the batter too quickly, leading to a chewy or rubbery result.
Leavening is key. I’ve found that baking powder works more reliably than baking soda unless the batter contains acid like yogurt or vinegar. The goal is a gentle lift, not a dramatic rise.
When I go eggless, I reduce the liquid slightly or use banana, which adds structure and sweetness. These adjustments make all the difference when cooking under fast, moist microwave heat. A good balance ensures the pancake rises properly, cooks through, and tastes like more than just a shortcut.
Step-by-Step Microwave Pancake Recipe with Timing Guide
Making pancakes in the microwave is fast, but the process still deserves care. Here’s the method I’ve perfected, explained in full so you can follow it without second-guessing.
Grease your container.
Lightly oil the inside of a microwave-safe bowl or mug. I use butter for added flavor, but any neutral oil will work. Don’t skip this step—it makes a big difference.
Mix the dry ingredients.
In a separate bowl, I whisk together the flour, sugar, baking powder, and salt. This ensures the leavening is evenly distributed and avoids clumps in the final batter.
Add the wet ingredients.
To the dry mix, I add milk, melted butter or oil, egg (or substitute), and vanilla if using. I stir gently until just combined. A few lumps are okay. Overmixing leads to dense texture, especially in the microwave.
Pour and rest.
I transfer the batter into the greased container, filling it only halfway. Then I let it rest for 3–5 minutes at room temperature. This step lets the baking powder activate and the flour hydrate, which improves rise and consistency.
Microwave and watch.
I cook the pancake on high power (about 900W–1000W) for 90 seconds to start. Then I check the center with a toothpick. If it comes out wet, I continue in 10–15 second intervals. Most pancakes are done in 90–120 seconds, depending on container depth and batter thickness.
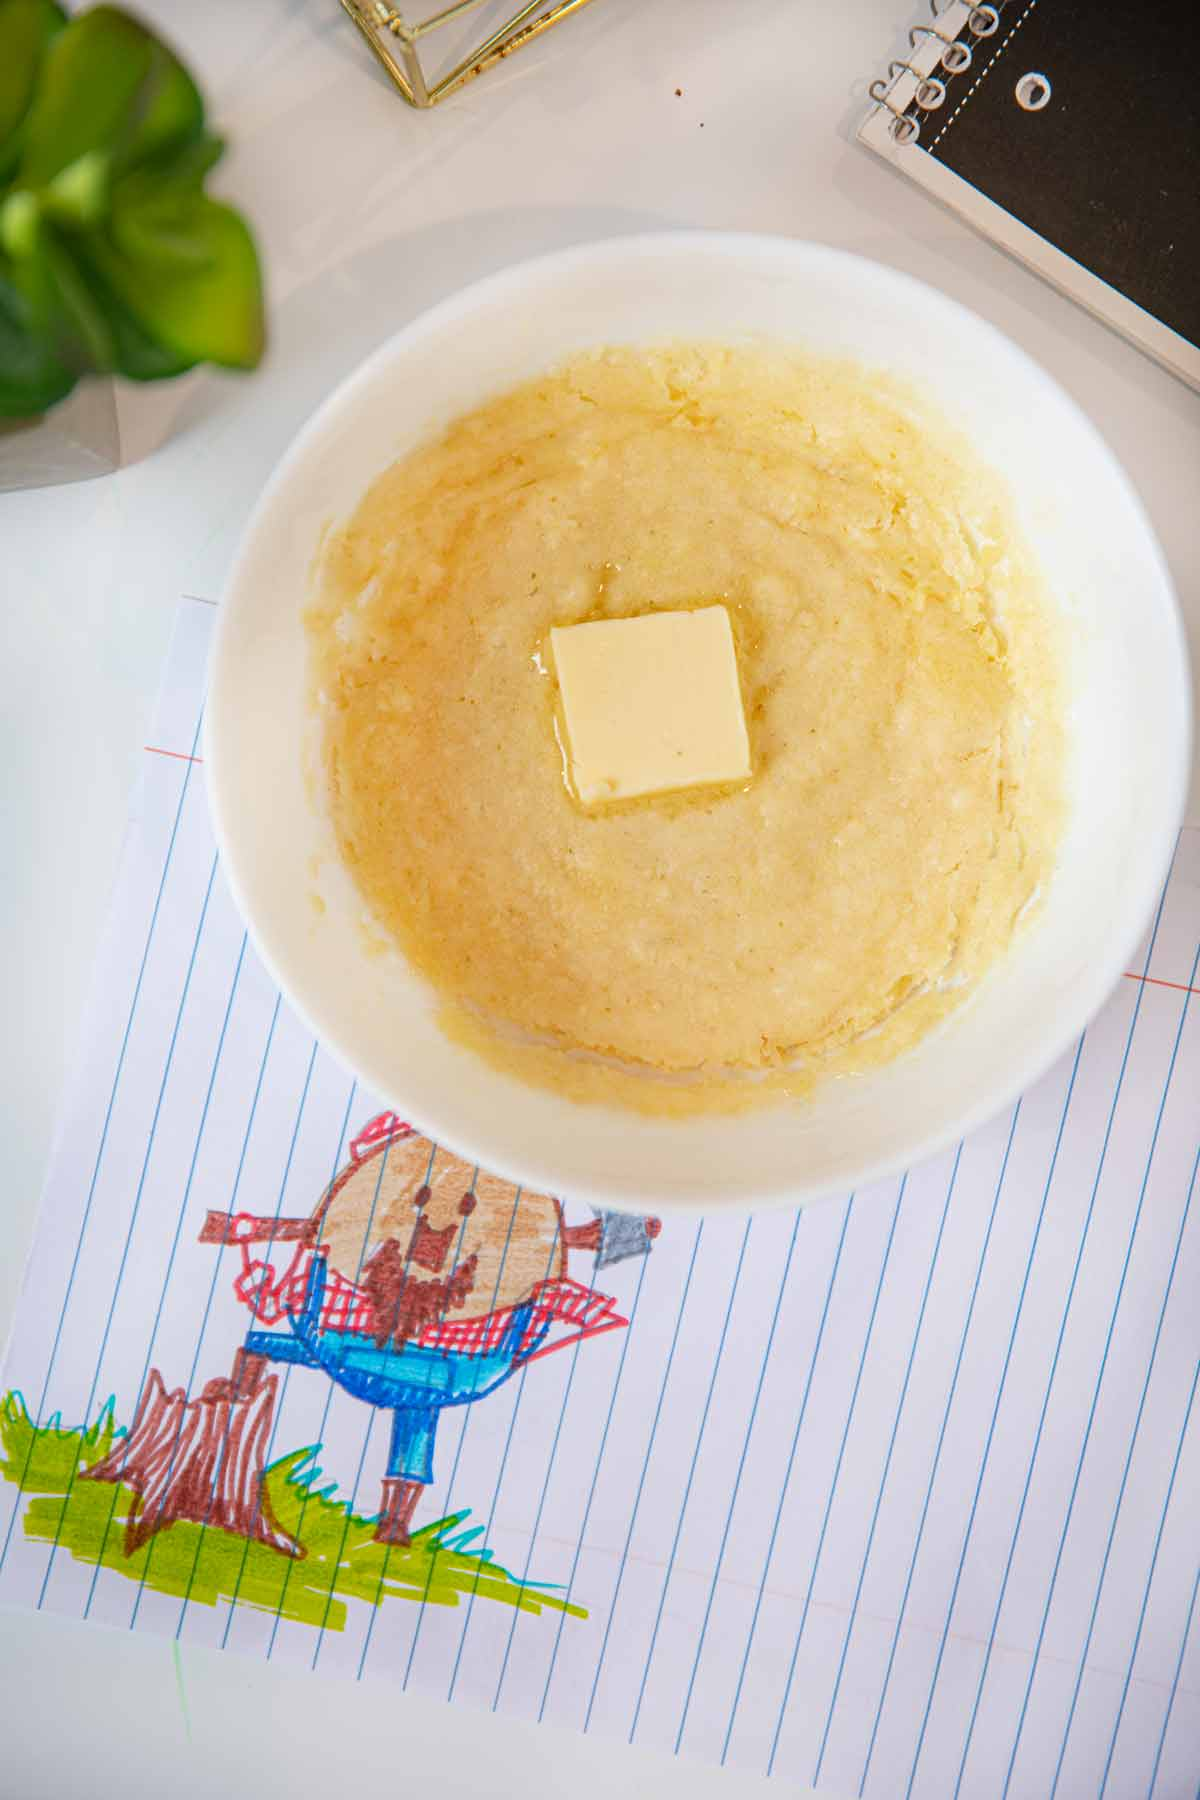
Let it settle.
After cooking, I leave the pancake to rest for another minute. This stabilizes the structure and prevents the center from collapsing. Then I loosen the sides gently and either eat from the bowl or invert it onto a plate.
What you get is a warm, tender pancake with a texture between cake and quick bread—fast, clean, and surprisingly satisfying.
Microwave Cooking Time and Power Settings (Temperature Table)
One thing I’ve learned over time is that microwave wattage and container shape matter far more than most people expect. Pancakes cook quickly, but even a 15-second difference can mean the gap between undercooked and rubbery. So I created this chart based on my own microwave tests using different setups.
| Microwave Power | Container Type | Batter Depth | Time Range | Notes |
| 1000W | Wide, shallow bowl | 1/2 inch | 90–100 seconds | My preferred combo—quick rise, even cook. |
| 900W | Standard mug | 2/3 full | 100–110 seconds | Slightly slower, more moist center. Stir once halfway if needed. |
| 800W | Ceramic ramekin | 1 inch | 110–125 seconds | Allow 10-second rests between cycles to avoid overflow. |
| 700W | Plastic container | 3/4 full | 120–140 seconds | Increase resting time post-cook. May need an extra 15 seconds. |
The key rule I follow is to stop cooking as soon as the center springs back slightly when touched. If it looks puffy but wobbly, I add just 10 more seconds. I’d rather undercook slightly and fix it than overcook and ruin the texture. With microwave pancakes, less is often more.
How to Prevent Dry or Gummy Texture in the Microwave
Microwave pancakes can go wrong quickly if you don’t respect the limitations of the method. The two most common texture issues I see are dryness and gummy centers, and both are completely preventable once you understand what causes them.
Dry pancakes usually mean overcooking. Microwaves keep heating food even after the cycle ends, so a pancake that looks “just done” might dry out in the next 30 seconds. That’s why I recommend stopping a few seconds early and letting it rest. I also make sure the batter contains enough fat—1 tablespoon of oil or melted butter per serving is the minimum I use. Without it, the texture turns rubbery.
Gummy centers are often a result of excess batter depth or poor container shape. If your mug is too narrow, the center won’t cook before the outside is already dry. I prefer a wider bowl and shallower layer for even heating. Letting the batter rest before microwaving also helps—it gives the baking powder a head start, leading to a more stable crumb.
Another trick I use is briefly stirring the batter in the mug halfway through cooking, especially for thicker mixes. Just one quick swirl with a fork breaks up steam pockets and prevents the dense patch that sometimes forms in the center. After dozens of trials, I’ve learned that a good microwave pancake comes from gentle cooking, plenty of fat, and smart portioning.
How to Enhance Flavor and Aroma Without Browning
Microwaving doesn’t create browning, which means you lose the complex flavor that comes from caramelization and the Maillard reaction. That’s why I’ve learned to build flavor directly into the batter through ingredients that shine even without a sear.
The first thing I always do is add vanilla extract or another aromatic—like almond, maple, or coconut extract. These give the illusion of warmth and richness that would otherwise come from browning. I also increase the sugar slightly—just enough to enhance natural sweetness without relying on syrup.
Spices are another essential tool. A pinch of cinnamon, nutmeg, or cardamom creates a cozy depth that fills in the gaps left by the lack of crust. I mix the spice directly into the flour to ensure it spreads evenly.
I’ve also found that fruit purées, like mashed banana or applesauce, do double duty: they act as sweeteners and structural enhancers while giving natural flavor. When I use banana, for example, I usually reduce added sugar—it caramelizes naturally even in the microwave and brings amazing softness.
Finally, if I want a more bakery-like aroma, I top the batter with a sprinkle of brown sugar or a few drops of maple syrup before microwaving. This doesn’t brown, but it melts into the top layer, creating a flavorful glaze-like finish.
With these additions, microwave pancakes no longer taste like an emergency snack—they feel intentional, warm, and delicious, even without ever touching a pan.
Adapting Microwave Pancakes to Other Methods: Skillet, Oven, Pressure Cooker
What I love about a solid microwave pancake batter is that it’s incredibly flexible. I’ve used the same mix on a skillet, in the oven, and even in a pressure cooker—each with its own tweaks. If you find a combination of ingredients you enjoy, it’s worth learning how to scale it across methods.
On the skillet, I reduce the baking powder slightly and thin the batter with an extra splash of milk. Microwave batters tend to be thicker, so they need loosening to spread properly on a hot surface. I cook them over medium heat for 2–3 minutes per side. This version gives me the crisp edges and golden color that microwaving can’t achieve—but requires more attention and cleanup.
In the oven, I pour the batter into a greased ramekin or mini tray and bake at 375°F (190°C) for about 12–15 minutes. The texture ends up more like a baked cake or Dutch baby pancake. I use this method when I want a more elegant presentation or to serve several portions at once.
With a pressure cooker, I use a metal mold or silicone dish, fill it halfway with batter, and steam it on low pressure for 10–12 minutes. The result is soft and sponge-like—very moist and dense. I like to do this when making fruit-stuffed versions or when I want to avoid using the oven or stove completely.
Each of these methods requires slight timing or moisture adjustments, but they all work beautifully with the same microwave base. Once you understand how that batter behaves, you can use it as a foundation for almost anything.
Common Mistakes When Cooking Pancakes in the Microwave
Microwave pancakes seem simple, but I’ve seen even experienced cooks make predictable mistakes—myself included. The most common one is overfilling the container. When the batter is too deep, the top will puff up while the center stays raw, or worse, the pancake explodes over the edge and creates a mess. I always keep the batter level to about halfway up the container.
Another frequent error is overcooking. It’s tempting to run the microwave for two straight minutes “just to be sure,” but that almost always leads to dry, rubbery results. I recommend starting low—90 seconds at most—and testing in short bursts if more time is needed.
People also skip the resting time, either before or after cooking. That short pause after mixing lets the leavening activate and improves structure. The rest after cooking allows residual steam to settle into the crumb. If you skip both, the pancake may fall apart or feel undercooked.
Using the wrong container is another problem. I’ve made the mistake of using mugs that are too tall and narrow, which creates gummy, uneven results. A wide, shallow bowl works far better, every single time.
Lastly, many people assume all microwaves cook the same. In reality, a 900W microwave behaves very differently from a 1200W model. I always suggest testing your specific microwave’s behavior with a small trial batch—and taking notes. It’s the best way to avoid surprises.
Flavoring Options That Work Best in the Microwave
Microwave heat changes how flavors develop. Since there’s no direct browning or charring, subtle ingredients tend to stand out more—and strong ones can quickly become overpowering. I’ve spent a lot of time experimenting, and these are the combinations I go back to again and again.
Banana with cinnamon is a classic. Mashed banana adds natural sweetness and moisture, while cinnamon adds warmth without needing caramelization. This combo turns the simplest microwave pancake into something that tastes like banana bread.
For brightness, I like lemon zest with vanilla. The zest releases aromatic oils as the batter steams, and the vanilla rounds out the flavor. This works especially well when I plan to top the pancake with berries or yogurt.
I often turn to spice blends like pumpkin spice or cardamom for seasonal versions. These aren’t dependent on crust development to taste rich—they infuse directly into the batter and bloom beautifully under moist heat.
On the savory side, I use finely chopped herbs like chives or dill, sometimes with a pinch of garlic powder. I reduce the sugar and sometimes add a spoonful of grated cheese. These versions aren’t common, but they’re excellent for a quick lunch pancake served with yogurt or sour cream.
What I’ve found is that microwave pancakes love bold, natural flavors—fruits, spices, and extracts that don’t need browning to shine. Once you know how to use them, you can tailor each batch to your mood or meal.
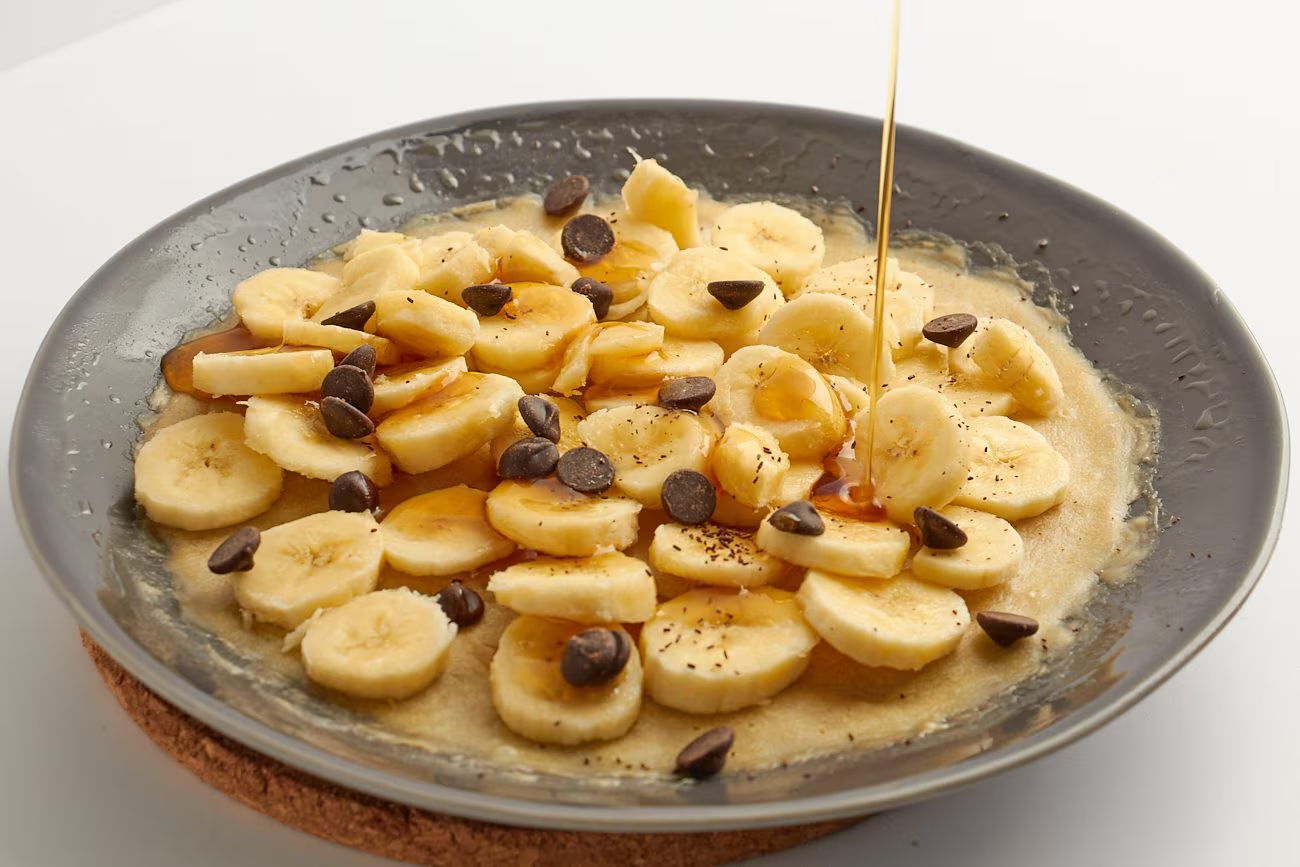
Toppings and Sauces That Improve Microwave Texture
One challenge with microwave pancakes is their uniform, sometimes soft texture. They don’t have crispy edges or browning for contrast—so I use toppings and sauces to bring that balance. Texture, moisture, and flavor all come from what you put on top.
My go-to is Greek yogurt mixed with a drizzle of honey. The cold creaminess of the yogurt contrasts beautifully with the warmth of the pancake, and the honey adds sweetness without overwhelming the dish. I’ve also used whipped ricotta with lemon zest or cinnamon-sprinkled sour cream when I want something richer.
Fruit compotes, especially warm ones, work extremely well. I usually simmer blueberries or strawberries with a splash of lemon juice and a bit of sugar until they thicken into a syrup. Poured over a soft pancake, this brings not just flavor, but a glossy finish and light acidity to cut through the density.
For a dessert feel, I sometimes use melted dark chocolate or peanut butter. A spoonful melted in the microwave with a little oat milk or coconut oil turns into a silky sauce. Drizzle it over the top and you’ve got something that feels gourmet—even if you made the base in under two minutes.
Even a simple sprinkle of brown sugar or a few chopped nuts can give the dish a texture boost. If you’re short on time or ingredients, just use maple syrup and cinnamon. I’ve served this version dozens of times and it’s always satisfying.
Variations: Vegan, Gluten-Free, Mug Pancakes, and Savory Twists
What makes microwave pancakes so useful is how easy they are to customize. I’ve tested many versions for different diets and occasions, and nearly all of them work with the same basic method.
For vegan pancakes, I use oat milk and replace the egg with either mashed banana or applesauce. The banana adds sweetness and structure, while applesauce gives a fluffier texture. I often add a teaspoon of vinegar to the milk to help the baking powder activate—this small trick makes a big difference in lift.
Gluten-free versions require just a bit more attention. I’ve had success with oat flour, buckwheat flour, and almond flour. The key is adding a bit more fat to compensate for dryness, and letting the batter rest longer—about 10 minutes—so the flours hydrate fully before microwaving.
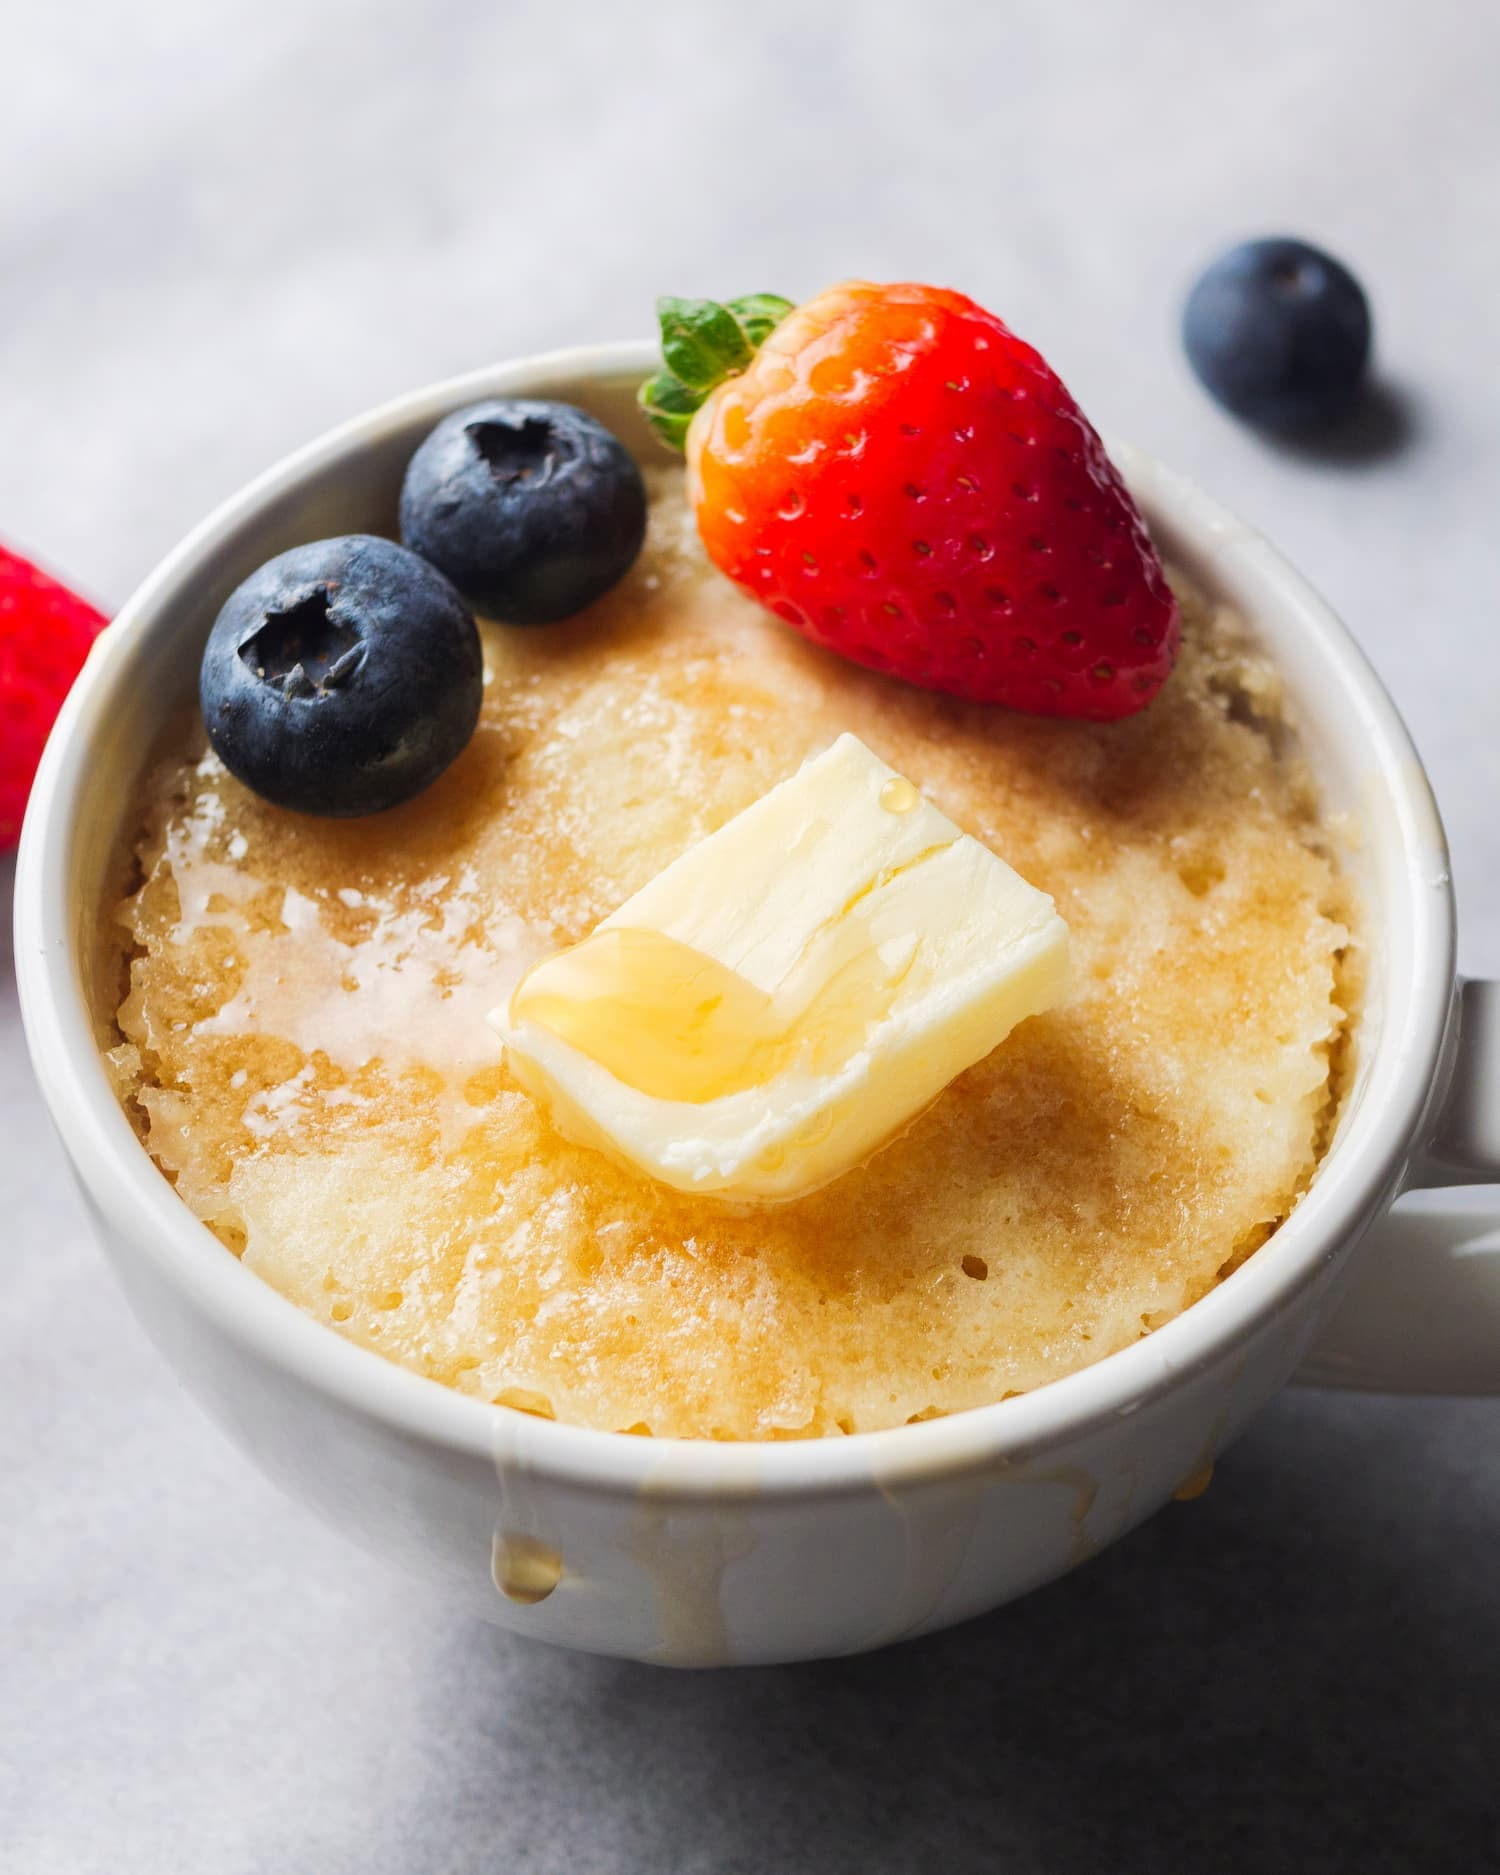
Mug pancakes are the most common form of microwave pancakes I make. I mix the batter right in the mug, pop it into the microwave, and eat it warm with a spoon. The only caution is not to overfill the mug—I keep the batter at or below the halfway point to prevent overflow.
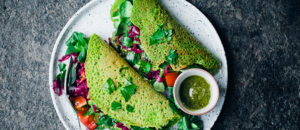
I’ve also made savory versions using grated zucchini, chives, and nutritional yeast or grated cheese. I omit the sugar, add black pepper and smoked paprika, and serve with garlic yogurt or hummus. These are excellent as a quick snack or lunch and work especially well in ramekins or bowls.
With a good foundation, you can adapt microwave pancakes to suit almost any mood or meal. The key is controlling moisture, fat, and rise—once you get that right, the rest is up to your creativity.
Storing and Reheating Microwave Pancakes Properly
I often get asked if microwave pancakes can be stored and reheated—and the answer is yes, with a few conditions. Because the texture is soft and moist, they store better than traditional pancakes, but need a little help when reheated to avoid drying out.
I let the pancake cool completely before storing. Then I wrap it in parchment paper or place it in an airtight container. In the fridge, it lasts up to 3 days; in the freezer, up to 1 month. For freezing, I suggest slicing the pancake into portions before storing—it makes reheating easier and faster.
For reheating, I avoid high microwave settings. Instead, I cover the pancake with a slightly damp paper towel and heat on medium power for about 30–45 seconds. This keeps the crumb soft and prevents the edges from turning rubbery. I never reheat uncovered—without moisture protection, the pancake dries out fast.
If I have time, I prefer reheating in a skillet with a touch of butter over low heat. It restores some texture and gives the bottom a little browning. For a drier pancake, I sometimes drizzle a bit of syrup or warm compote over the top before microwaving—this rehydrates it gently and adds flavor at the same time.
Done right, microwave pancakes can taste just as good the next day—sometimes even better with the right toppings. And that’s why they’ve become a regular part of my prep routine, not just a one-time convenience.
Time-Saving Tips and My Favorite Microwave Pancake Routines
One of the best things about microwave pancakes is how easily they fit into your daily rhythm. Over time, I’ve built a few simple routines that save me time, reduce stress, and make breakfast something I actually look forward to—even when I’m in a rush.
The key is prepping dry mixes in advance. I portion out the flour, sugar, baking powder, and salt into small jars or containers and label them. In the morning, I just add milk, oil, and a spoonful of banana or applesauce, stir it up, and microwave it. From zero to plate in under 5 minutes—fewer if I’m reheating.
I also keep a “flavor rotation” based on season and mood. For example, I do cinnamon-banana in winter, lemon-vanilla in spring, and pumpkin spice in the fall. I pre-mix my spices so they’re ready to go. This gives me variety without having to rethink the recipe every time.
Another trick is doubling the batch and splitting it into two mugs. I microwave them one at a time, which actually produces more even results and avoids overheating a single large portion. One goes on the plate, the other in the fridge for tomorrow.
When I know I’ll need something fast, I also pre-mix a full batter the night before and refrigerate it in a sealed container. I just give it a stir in the morning, and it’s ready to cook. The resting time actually improves the structure, especially for gluten-free and eggless versions.
With a few smart moves, microwave pancakes stop being an emergency backup and become a real part of your cooking rhythm—quick, easy, consistent, and just as satisfying as traditional recipes.
FAQ: 15 Common Questions About Microwave Pancakes — Answered by a Chef
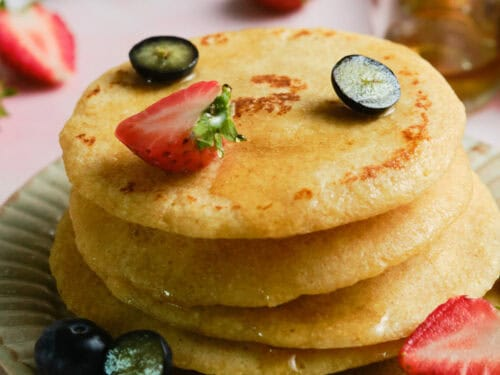
Can you really make a good pancake in the microwave?
Yes, absolutely. I was skeptical at first, but after trying it many times, I can confidently say microwave pancakes can be soft, fluffy, and delicious—if you use the right batter, container, and timing. It’s not identical to skillet pancakes, but it holds up surprisingly well.
What kind of dish should I use?
I recommend a wide, shallow microwave-safe bowl or ramekin. From experience, narrow mugs lead to uneven cooking and gummy centers. Shallow shapes help the batter cook through evenly without drying out.
How do I keep the pancake from turning rubbery?
The two main tricks are not overcooking it and making sure the batter includes enough fat. I use at least 1 tablespoon of oil or butter, and I stop the microwave while the top is just barely set. Letting it rest afterward helps lock in the moisture.
Is it better to use eggs or a substitute like banana or applesauce?
Both work. I’ve used eggs when I want a more classic crumb, and mashed banana or applesauce when I want something softer or vegan. Banana adds sweetness and body; applesauce makes it lighter. I recommend experimenting with both.
How long should I microwave the pancake?
In a 1000W microwave, most single-serve pancakes take 90–120 seconds. I start with 90 seconds, then check the center. If needed, I add 10–15 seconds at a time. Over time, you’ll learn the sweet spot for your microwave.
Why did my pancake overflow in the mug?
That usually means you filled it too high. I always fill the container no more than halfway. Pancakes expand fast in the microwave, and they need space to rise safely. A wide bowl helps prevent this.
Can I microwave more than one pancake at a time?
Not in the same container—but you can prep multiple mugs and microwave them one after the other. I’ve found that doing them one at a time yields better texture. Simultaneous cooking tends to cause uneven heating.
How do I add flavor without browning?
I use extracts (vanilla, almond), citrus zest, mashed fruit, and spices like cinnamon or cardamom. These work beautifully in the microwave. Since there’s no searing, the flavor needs to come from the inside out.
Do microwave pancakes store well?
Yes. I cool them completely, wrap them in parchment or airtight containers, and store in the fridge for 2–3 days. For longer storage, I freeze them. They reheat surprisingly well with a damp paper towel to keep them soft.
Can I use boxed pancake mix in the microwave?
Yes, and I’ve done it many times. I add a little extra fat (like oil or butter) and reduce the liquid slightly for a thicker texture. Just be careful not to overmix or overcook—boxed mix can dry out faster than homemade.
What’s the best microwave wattage for pancakes?
900–1000W works best in my experience. Lower wattages will require longer cooking and sometimes give less rise. Higher wattages can dry the pancake if you’re not careful. Always adjust by watching, not just timing.
Can I make a savory version in the microwave?
Definitely. I remove the sugar, add grated veggies, herbs, and cheese. I’ve done versions with chives and feta, or zucchini and black pepper. They microwave perfectly and go great with yogurt or tahini sauce.
Why does the pancake sometimes cook unevenly?
That usually comes down to container shape or microwave hotspots. I stir the batter halfway through if needed, and I sometimes rotate the dish if I see uneven rise. A shallow dish helps a lot here.
Is it okay to eat microwave pancakes from the same bowl?
Of course. I do this all the time, especially when I’m short on time. Just make sure the container isn’t too hot when it comes out. I often let it cool for a minute, then add toppings right into the bowl.
What’s your go-to microwave pancake combo?
I love banana-cinnamon batter with a touch of vanilla, microwaved in a ceramic bowl, then topped with warm peanut butter and crushed walnuts. It’s fast, rich, and hits every texture and flavor note I want in a quick breakfast.

Post Comment